The essential tools for your seafood kitchen
Photos: Nick Rahaim
Getting the most out of the local catch can sometimes mean going beyond boned, skinned, and pre-portioned sections. Buying a whole fish is often the most affordable way to purchase fresh-caught fish, provides the makings of a great fish stock, and brings the ocean experience to your kitchen.
But when dealing with whole fish, there are a few extra kitchen tools you’ll need to make the experience easier. While you might have knives and utensils in your kitchen to get by, the right seafood-specialty tool creates both efficiency and quality in the end product.
Essential Tools
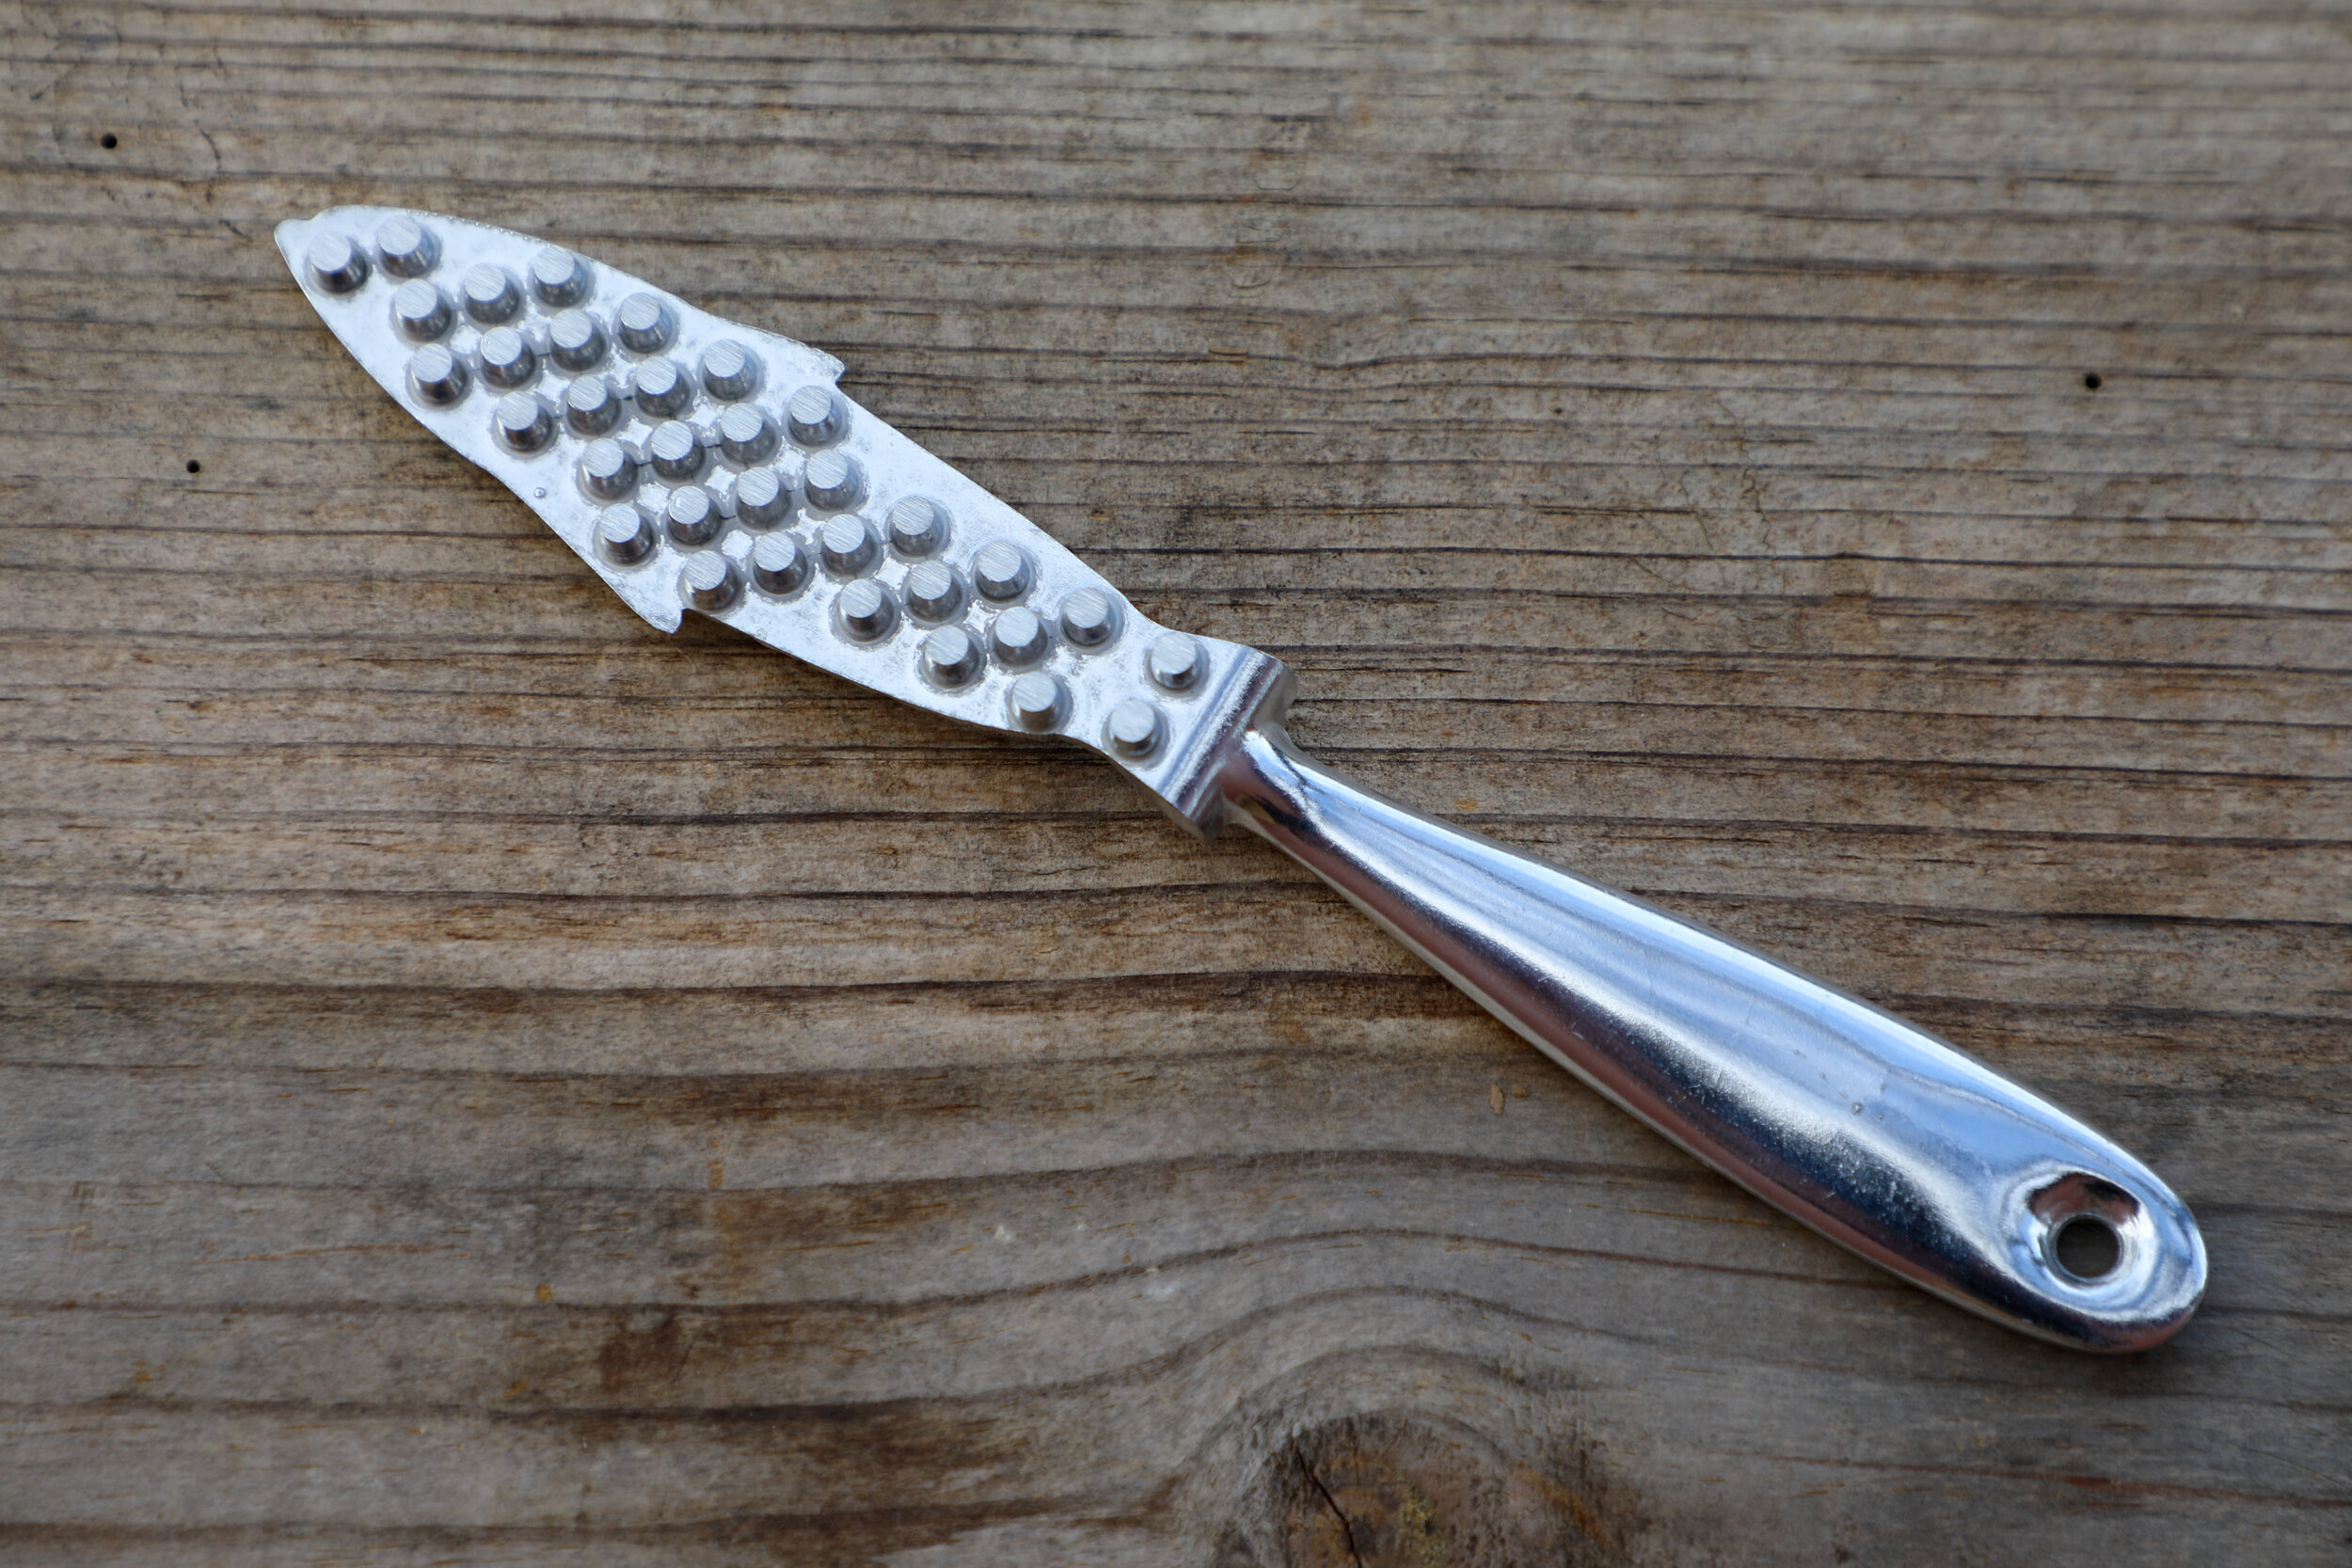
Fish scaler
A fish scaler is not as essential as a fillet knife, but since it’s first in the process of preparing a whole fish, it’s top of the list of must-haves. If you’re cooking a whole fish or a fillet with skin-on, you’ll want to get rid of the scales — a mouth full of them could ruin a dish.
There are specific fish scalers with rough, jagged edges that you run over the fish’s skin to scrape off the scales. The easiest way is to hold the fish by the tail (a rag helps with the grip) and rub the fish scaler against the grain of the scales towards the head. This is a messy process that’s best done outside or in a sink with running water.
If you don’t have a scaler on hand, the dull edge of a butter knife is also very effective at removing scales. Just rub against the grain, and they’ll fall off without much effort.
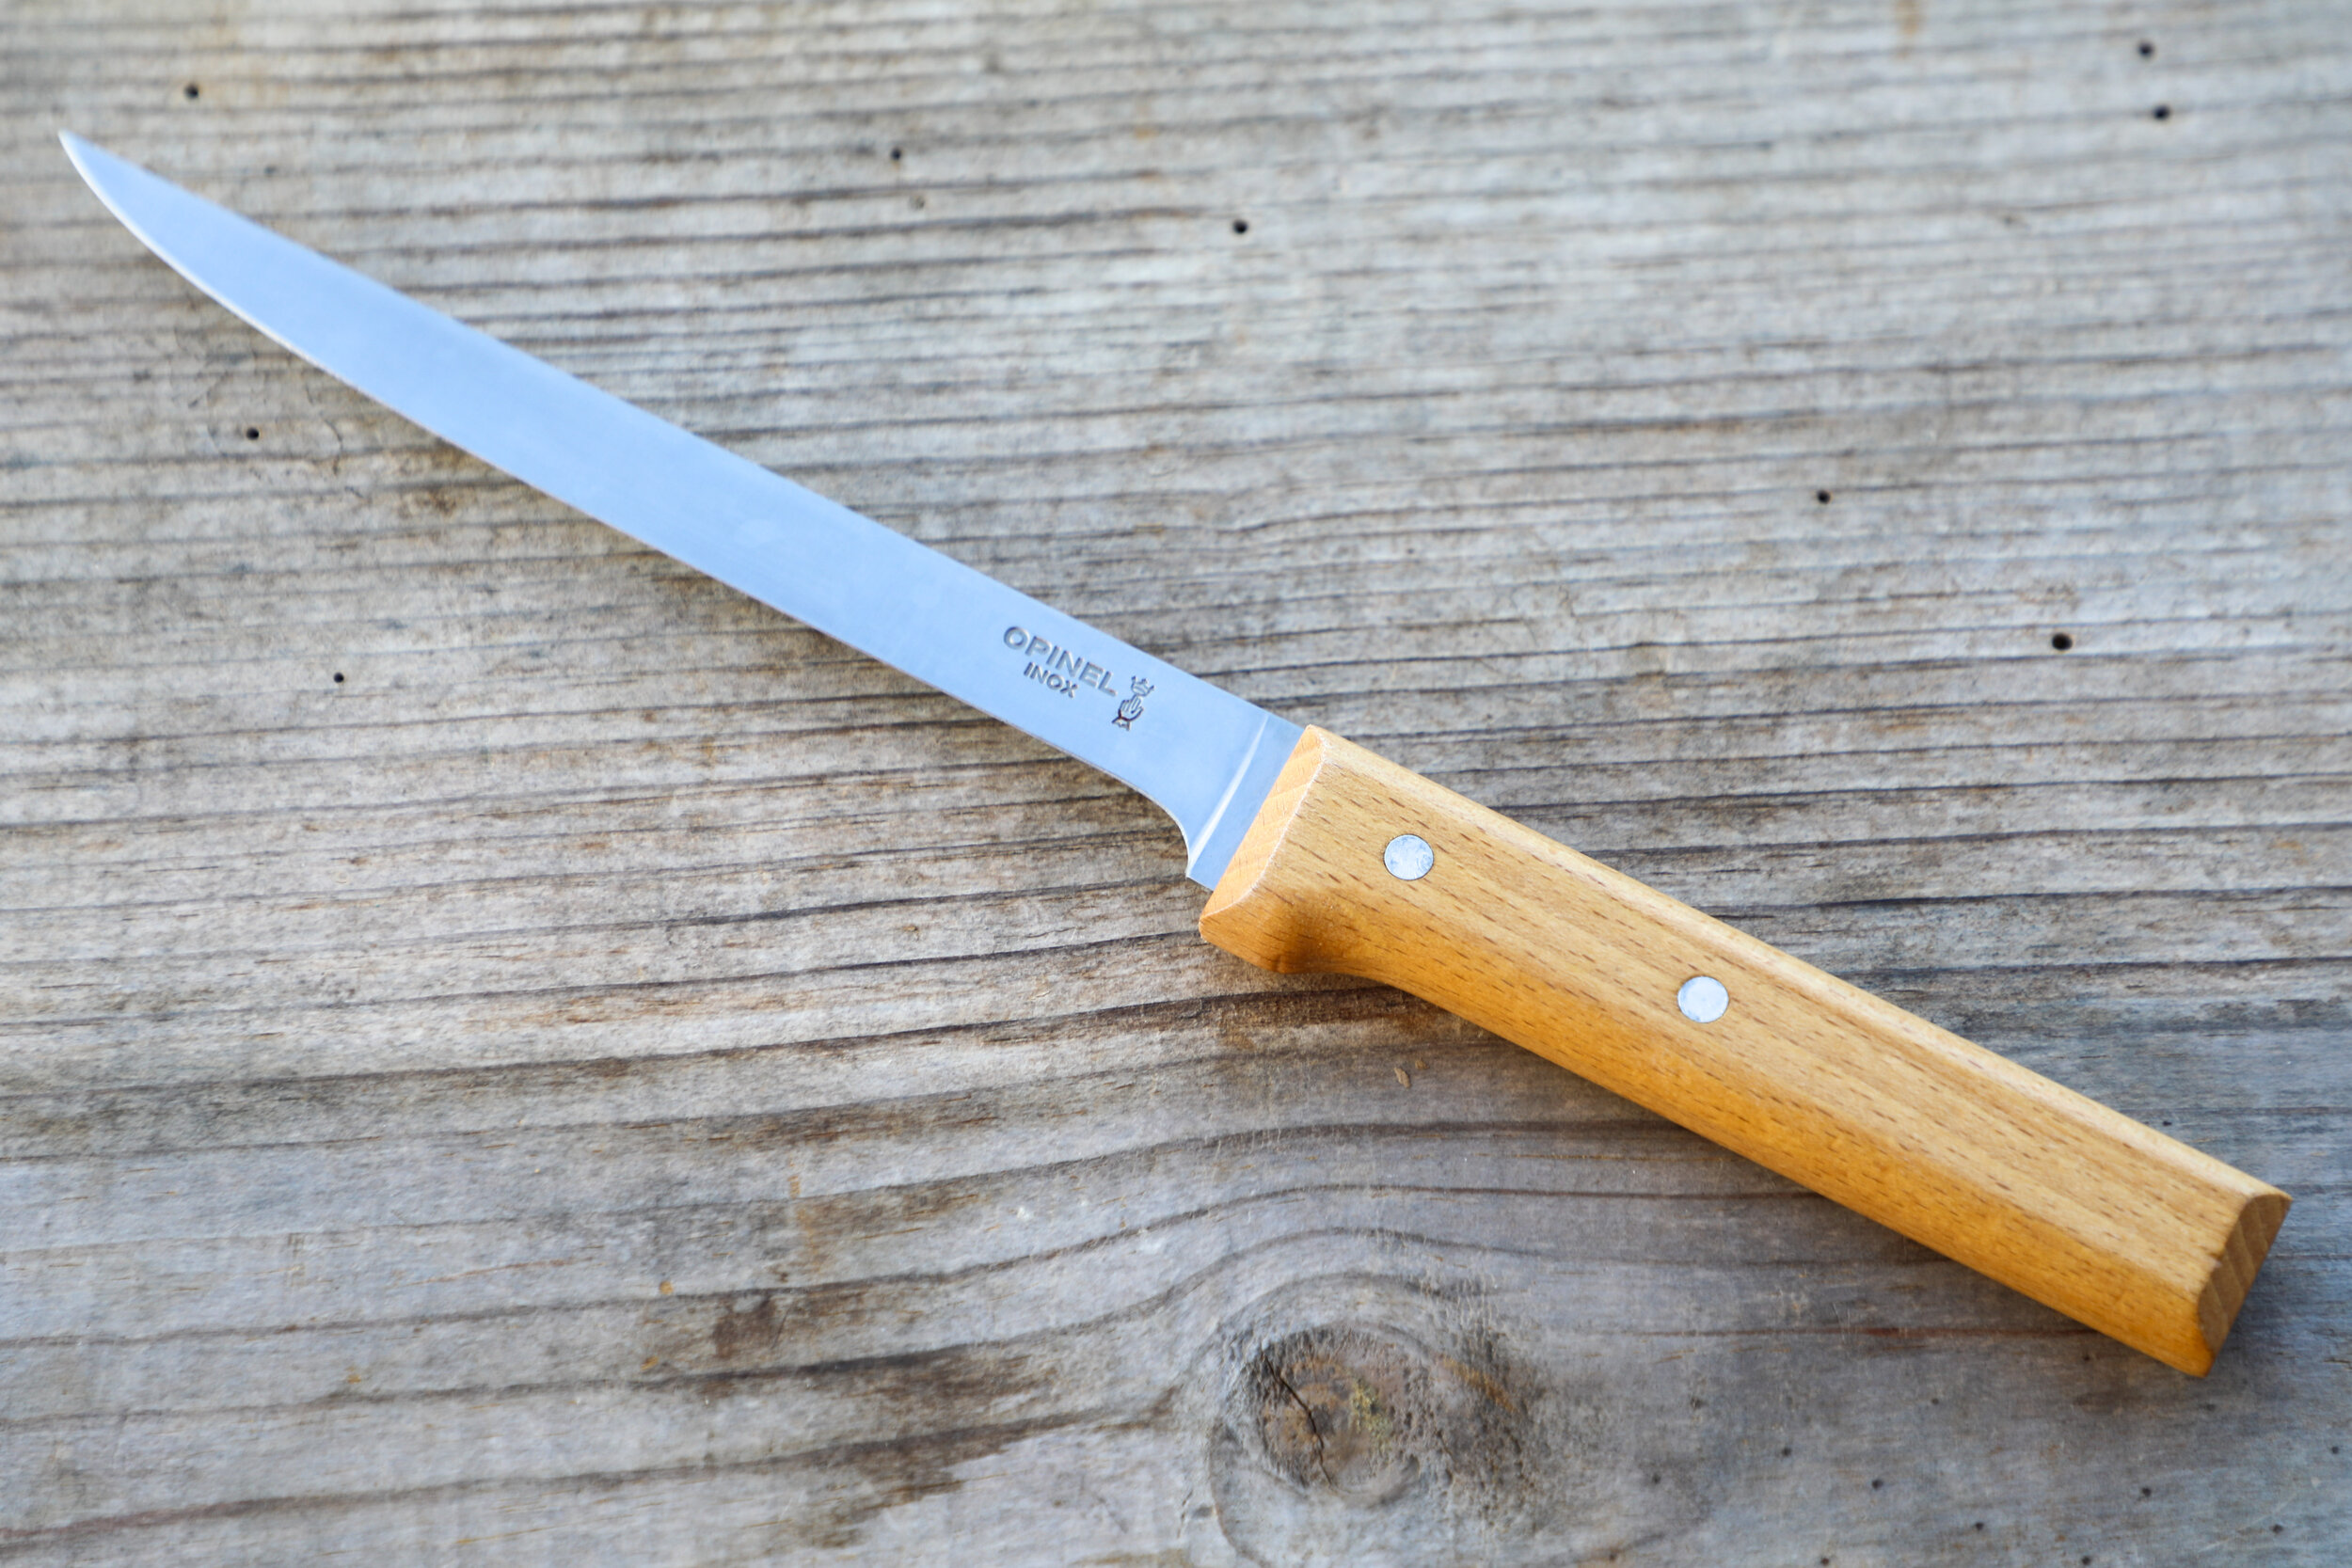
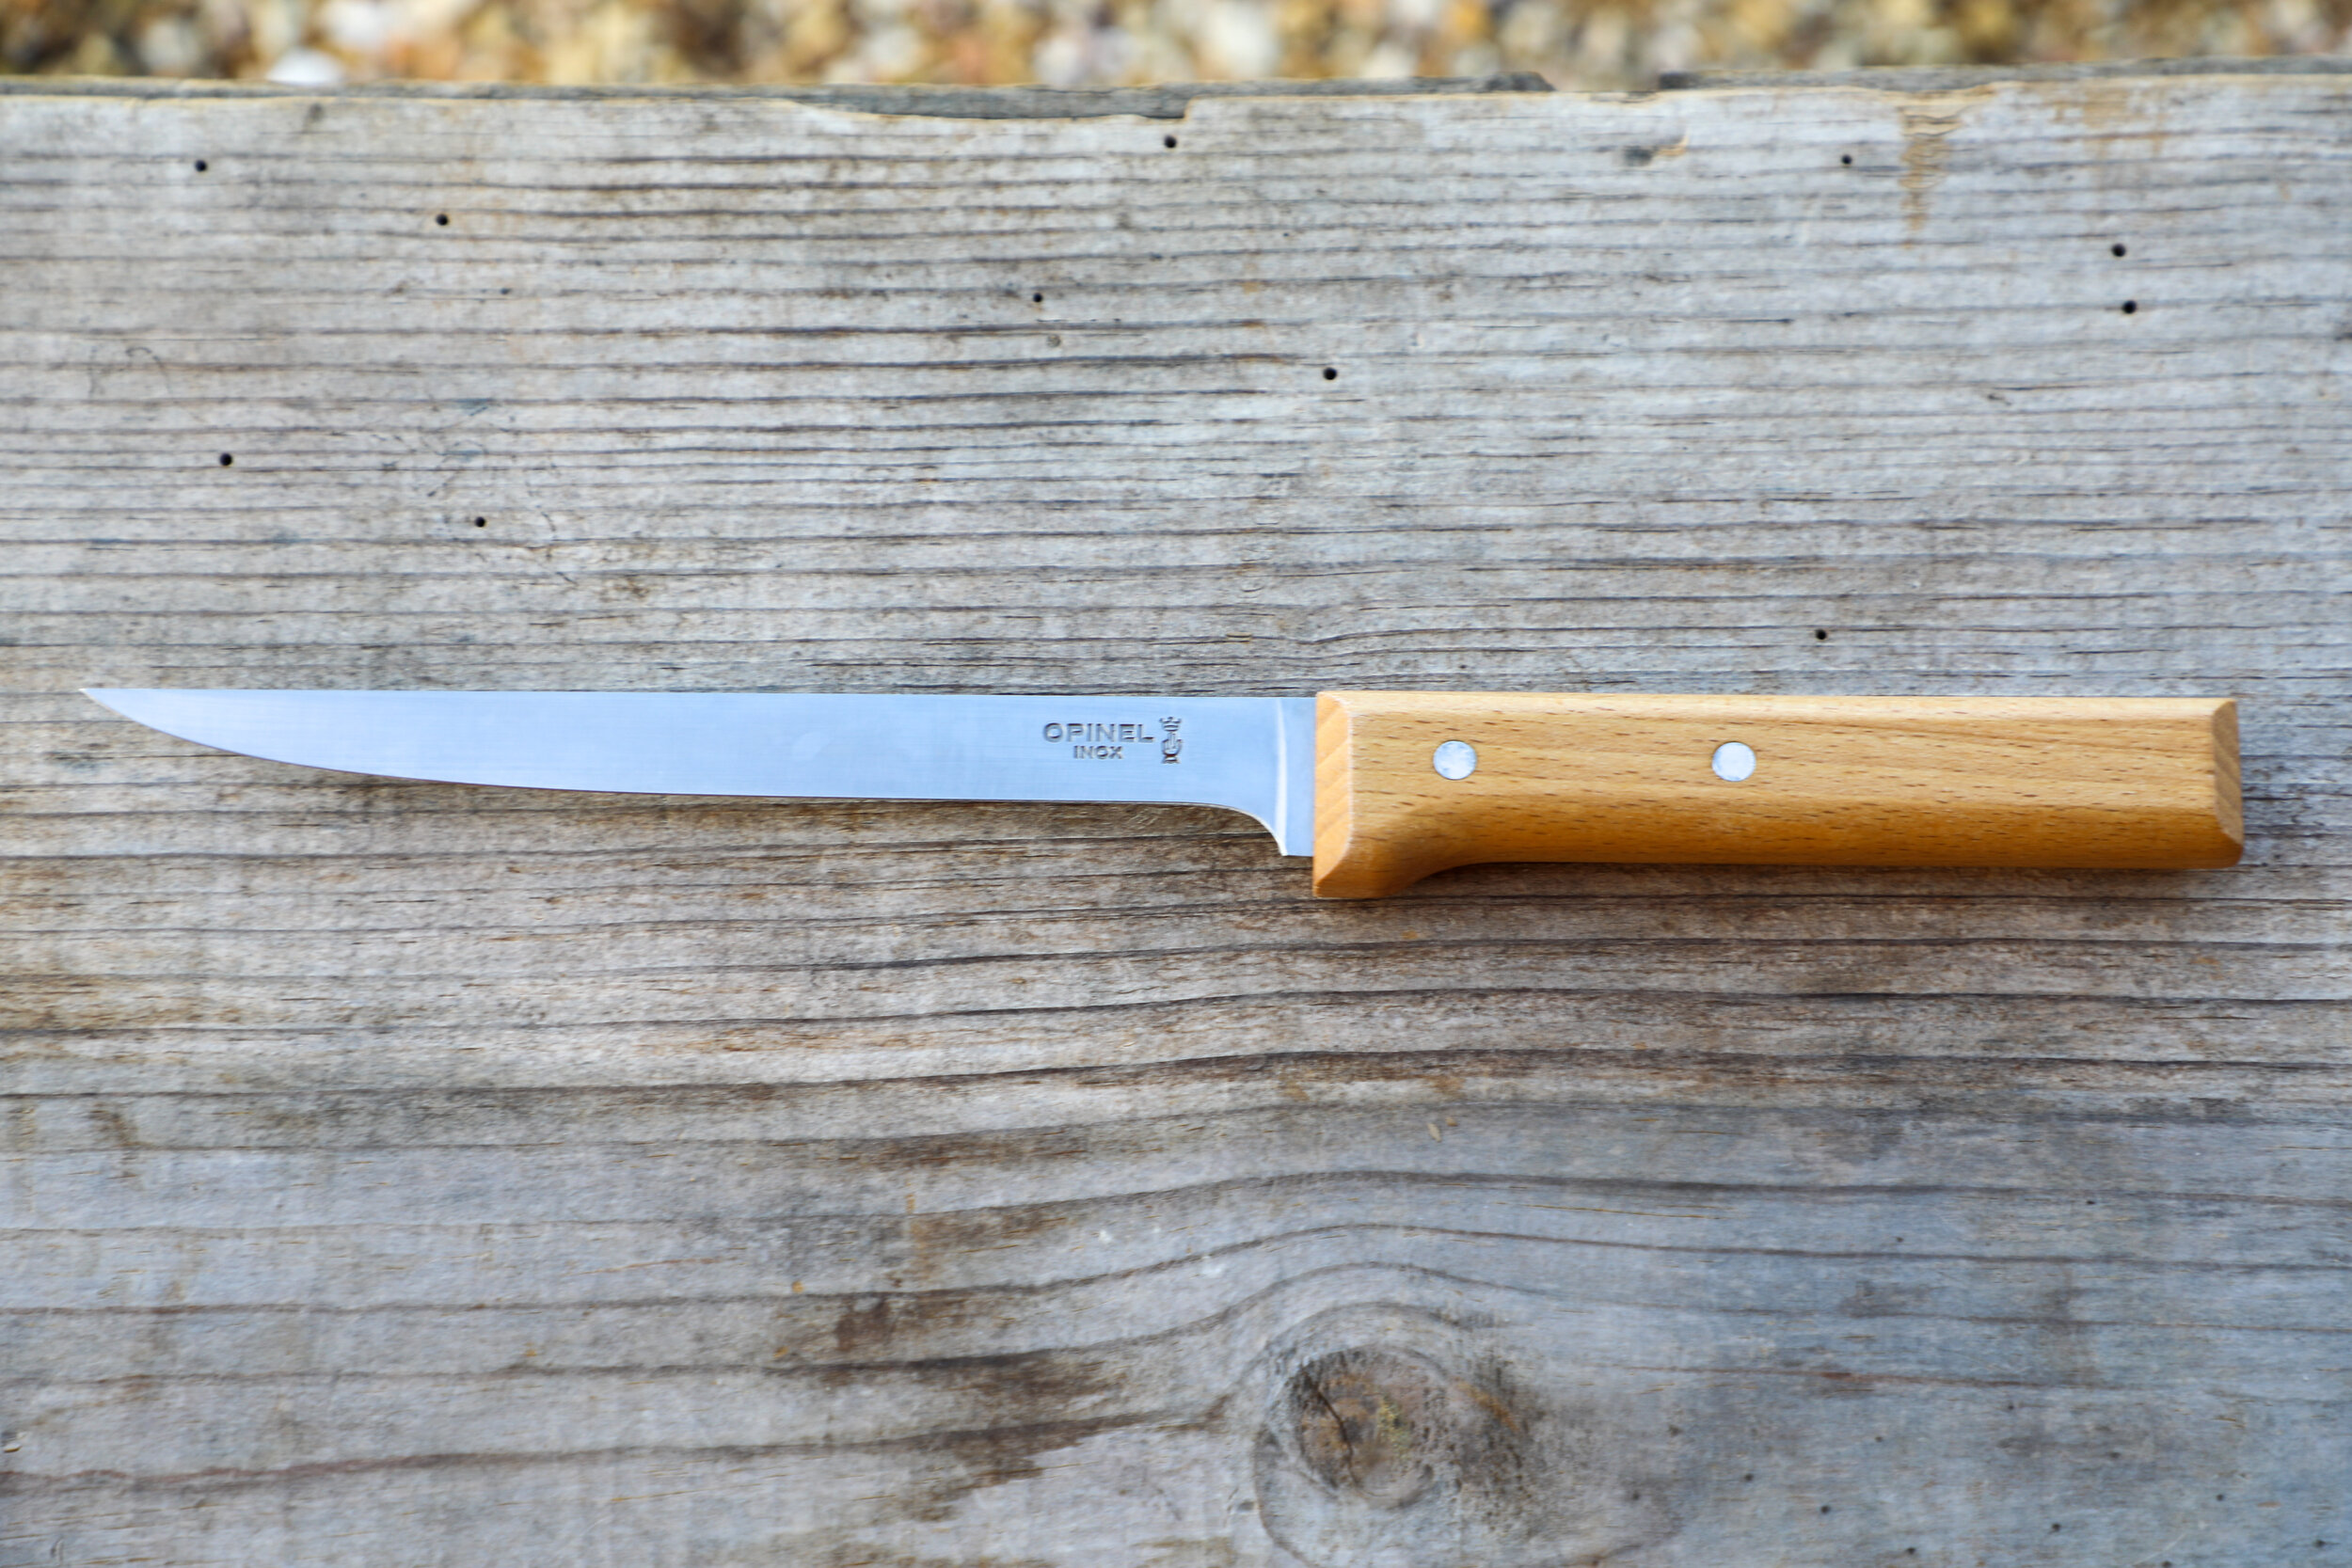
Fillet knife
Fillet knives have long, thin, flexible blades that allow the knife to bend to the contours of the fish. Whether you prefer to start from the head or the tail, the flex and bounce of the blade allows you to run the knife along the backbone, leaving minimal flesh behind while not digging into the spine. The length of the blade also lets you see where you’re cutting, helping keep the knife in position. A chef’s knife would work, but there’s a greater risk of taking too much backbone or too little flesh.
Our friends at H&H Seafood provided this video on how to clean a whole salmon, and Captain Joe Pennisi of the F/V Pioneers shows how to fillet a lingcod in this video.

Small needle-nose pliers
If you’re filleting a fish, there’s a good chance there’ll be pin bones to contend with — especially in rockfish. They are easy to handle with a small pair of needle-nose pliers. Don’t rely on your toolbox for this — invest in a small pair to keep in your kitchen (not only is W-40 toxic, but it won’t match the flavor profile you’re going for).
Run your fingers over the uncooked fillet and feel for the line of pin bones between the flakes of flesh. Hold the fillet down, grab the tip of the bone with the pliers, and pull the bone from the meat — sometimes a quick jerk will help the stubborn ones.
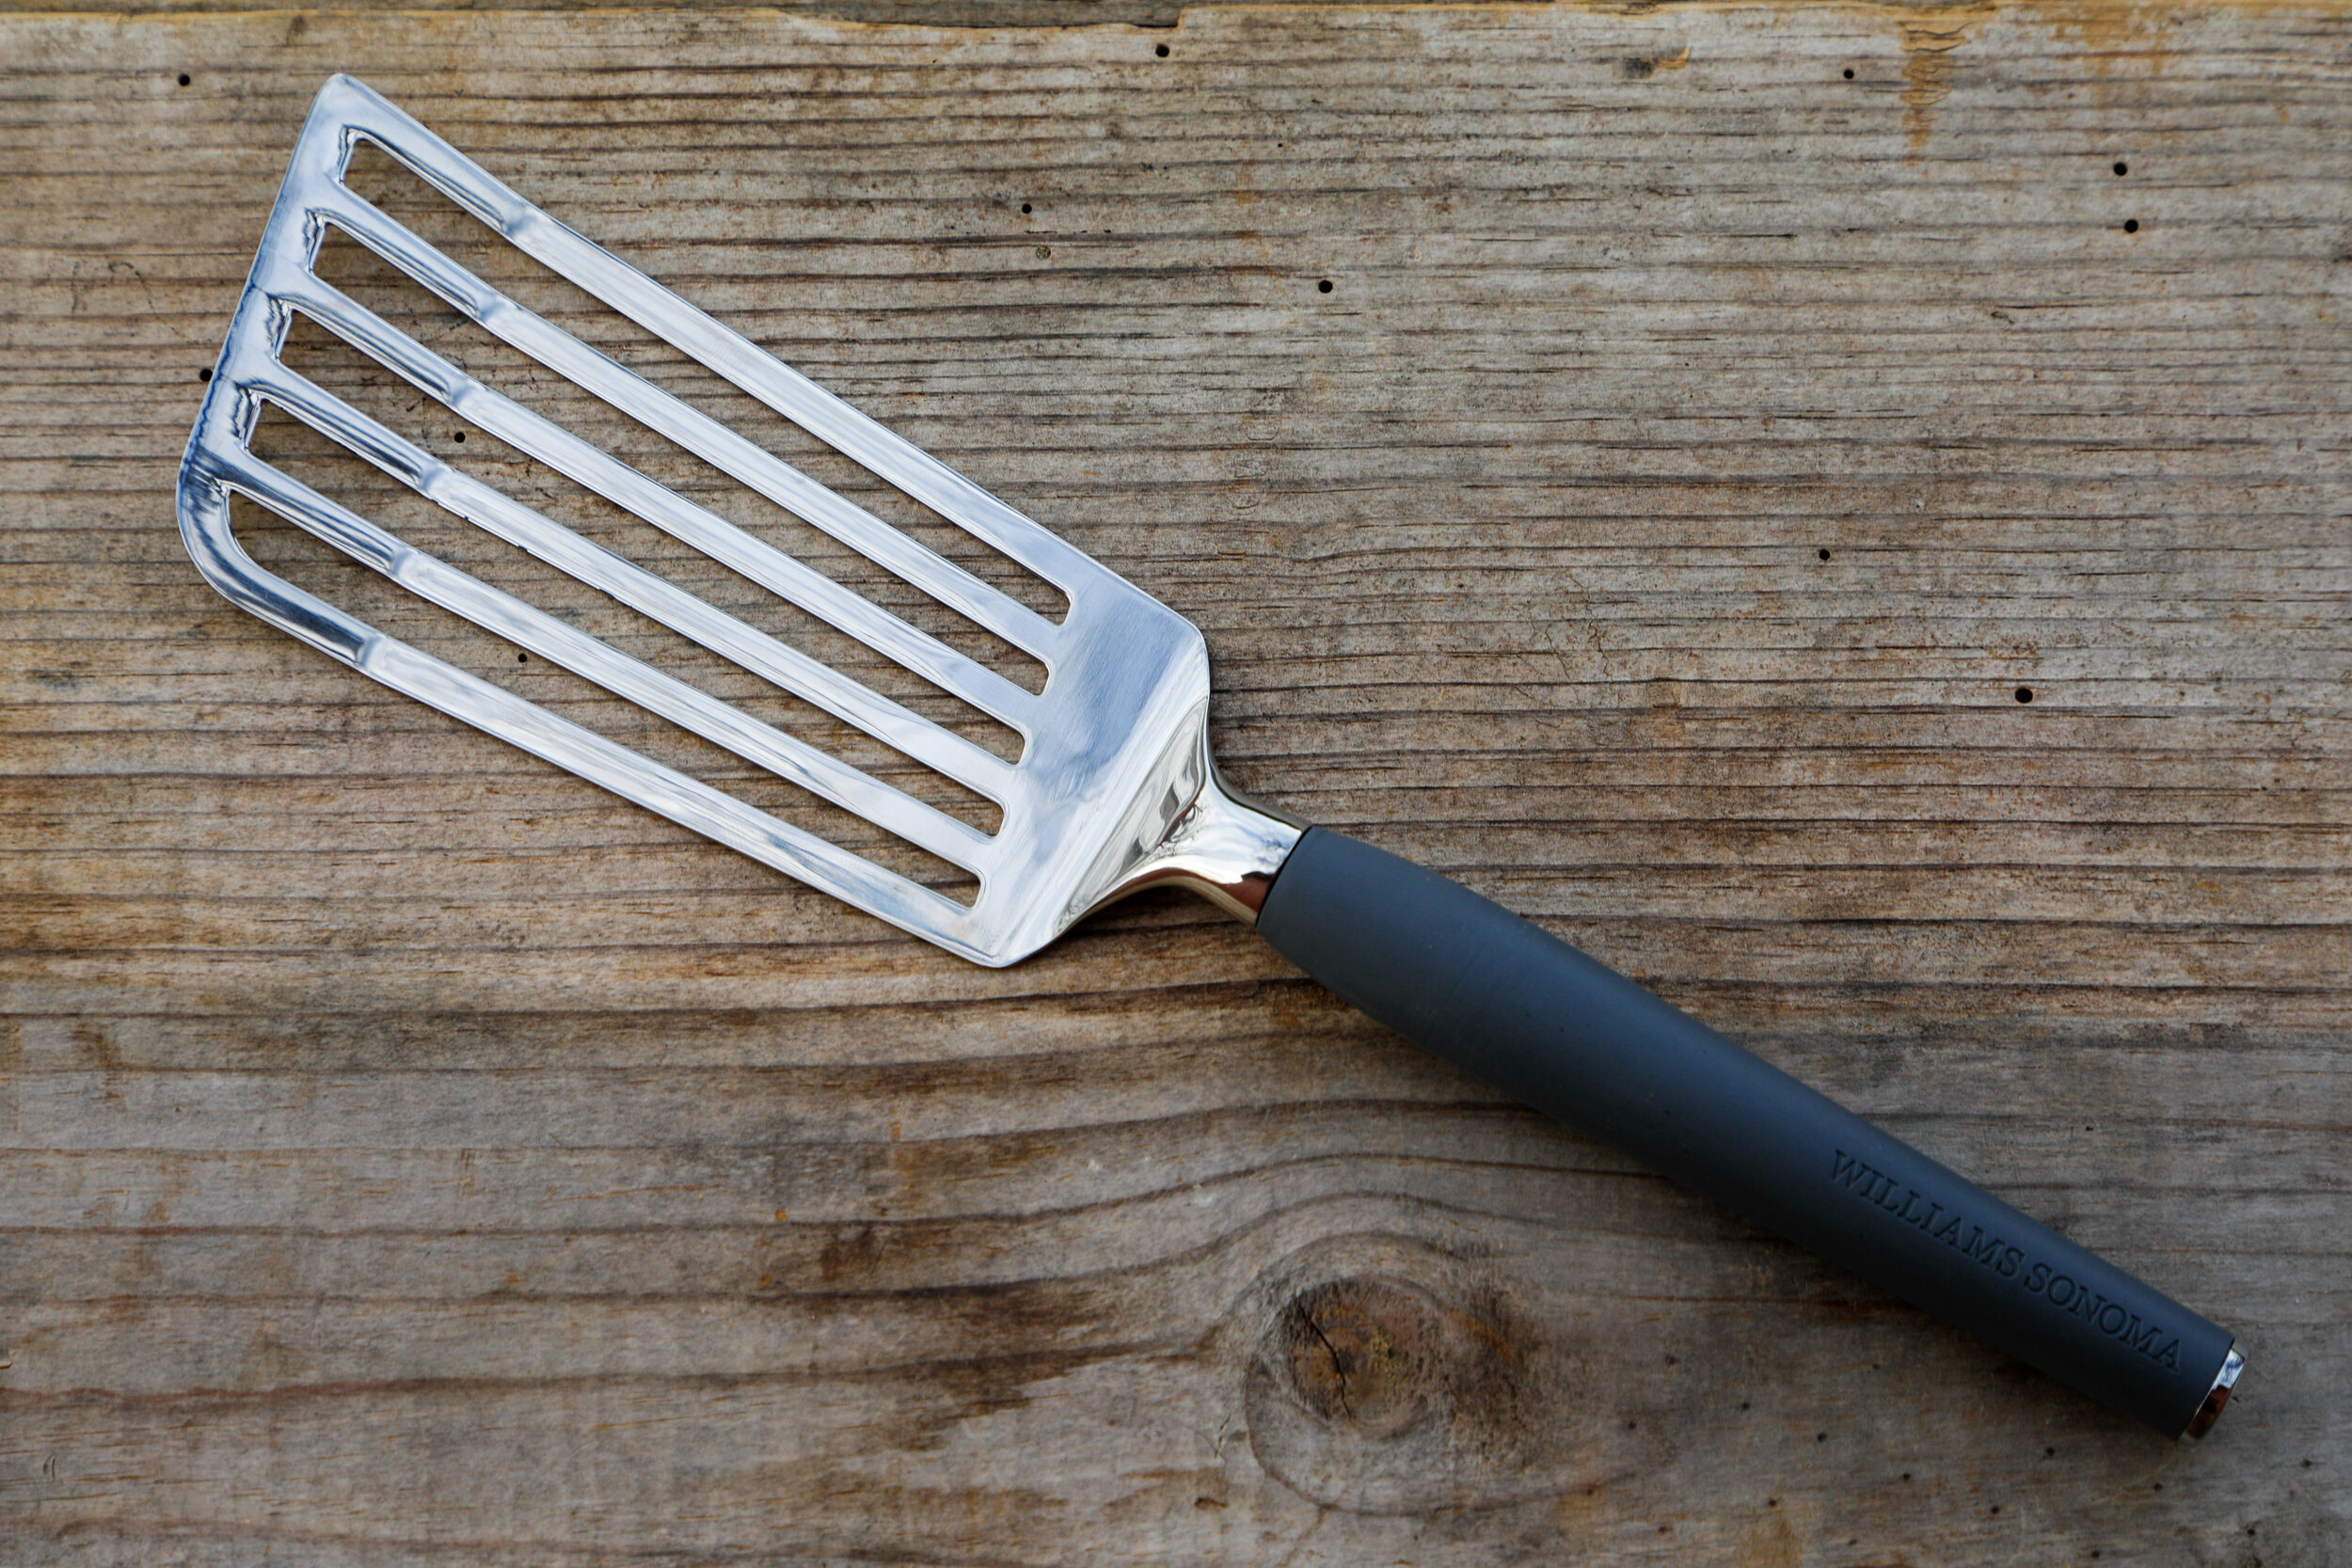
Fish spatula (aka fish turner)
When cooking fillets in a pan, it can be difficult to turn the delicate flesh without it breaking. The simple way to fix this is to cut your fillets into portions that match the size of your standard spatula. If you’re going for crispy, fried fish, portioning out fillets is good for cooking evenly and maximizing surface area for crispy goodness.
If it’s tender flakiness you’re going for, keeping fillets intact maximizes moisture in the fish to prevent it from drying out — a fish spatula is key. There is something special about serving a whole intact fillet to your friends and family. The length of a fish spatula supports the entirety of the fillet so that it doesn’t break when you turn it in the pan. Most have some flex for more dexterity and are slotted to reduce weight and easily move through hot oil or sauce.

Nutcracker
While some might prefer just going ahead and using their teeth to crack the shells of Dungeness and other crab legs, using a metal nutcracker might instill better table manners. This isn’t anything special — it’s the same metal top-hinged tool you’d use to crack walnuts, almonds, and pecans. Nutcrackers are cheap, and you might already have one in the house. Just be gentle while using them; you want to crack the shell, not crush the tender meat.

Oyster knife
If you like oysters, you should have an oyster knife. They’re the perfect, briny appetizer to whet your appetite for the main seafood course. Oyster knives are perfectly designed to pop the shell open safely with minimal effort.
If you don’t have an oyster knife, do not use a sharp knife. One slip, and you could be headed to the emergency room for stitches. In this case, you’re better off using a butter knife or a flathead screwdriver.
Hold the oyster in one hand with a kitchen towel or clean rag with the cupped side of the oyster facing down and the flat-side up. Find the joint (or hinge) of the oyster at the narrow side of the shell. Insert the tip of the oyster knife between the two shells at the joint. Give constant pressure and wiggle and twist the blade until you find the sweet spot and hear or feel the “pop.” Be sure not to give too much pressure, or when the joint releases, you may lose control of the knife, oyster, or both.
Once the oyster is open, run the knife along the top of the cupped shell holding the brine and the meat. Then slide the knife under the meat, disconnecting the shell. For aesthetics purposes, don’t disturb the meat in the process — if you worked in a professional kitchen, you’d catch the wrath of a chef for a mangled oyster.